Thrift-store inspection checklist: 12 checks before you buy to resell
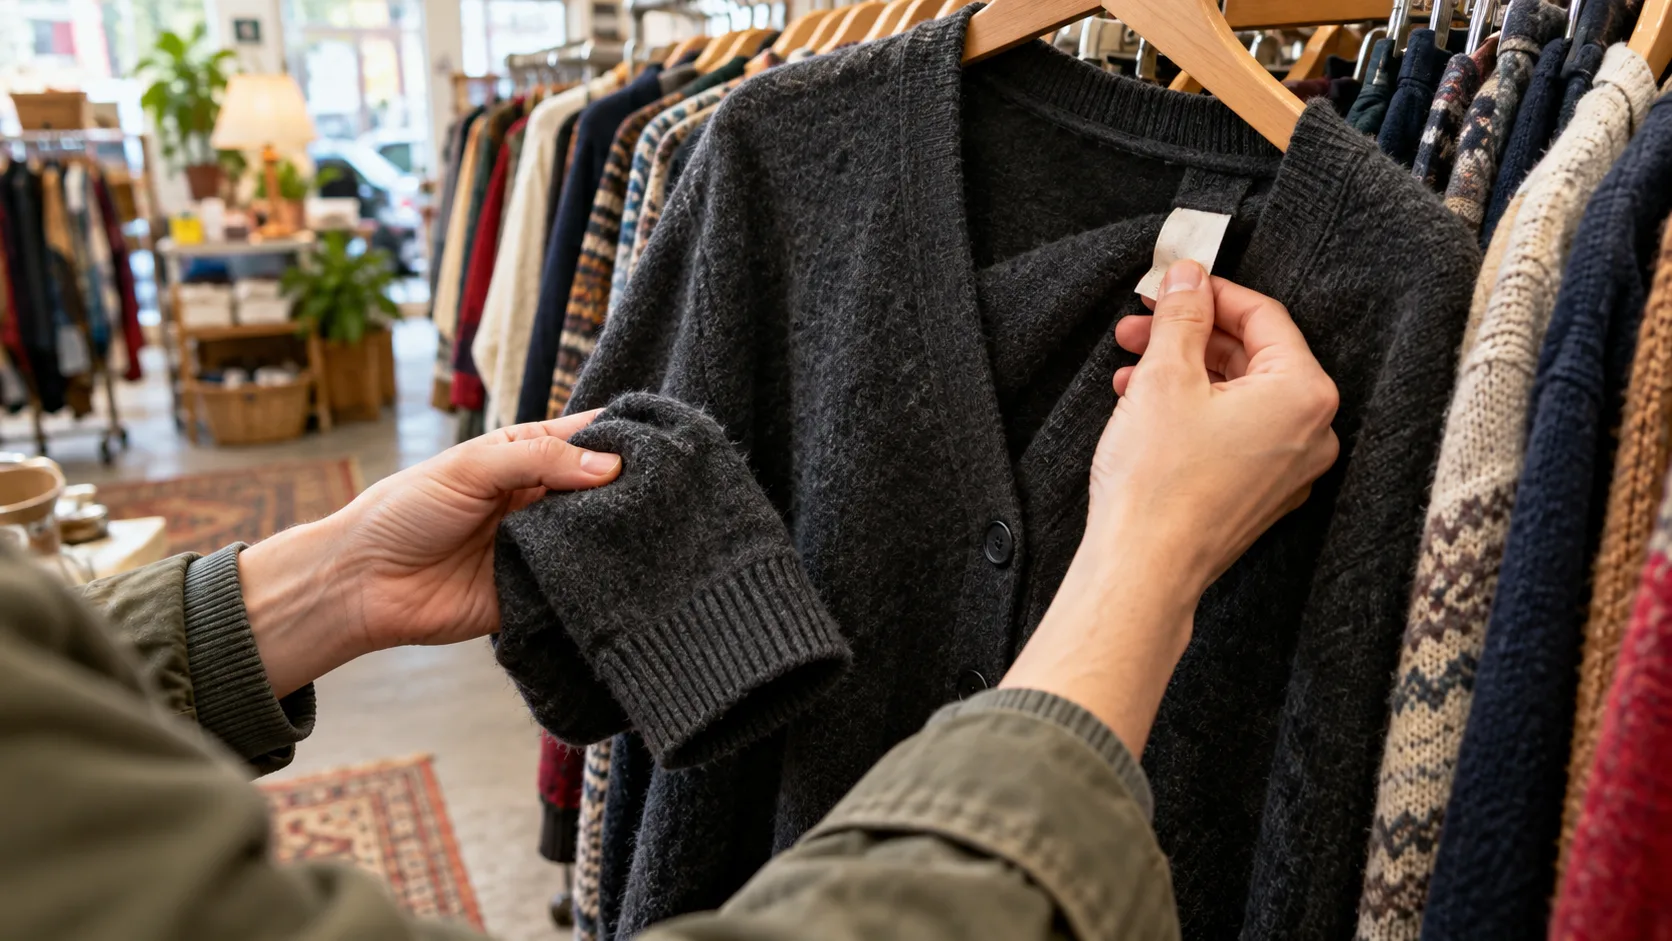
Before buying a thrift item to resell, identify the brand and exact model, inspect every condition-sensitive area, test hardware, read the material and care labels, check measurements, estimate packed size and comp the exact item. Pass when you cannot describe a flaw, price a repair or name the item precisely enough to list it.
Short answer: before buying a thrift item to resell, identify the brand and exact model, inspect every condition-sensitive area, test hardware, read the material and care labels, check measurements, estimate packed size and comp the exact item. Pass when you cannot describe a flaw, price a repair or name the item precisely enough to list it.
The fastest way to lose a resale margin is to buy first and inspect later. An item that looks great from the rack can have an underarm stain, broken zip, missing belt or label detail that changes both its price and the words you must put in the listing.
The marketplace rules are simple: describe the item accurately and show its real condition. The order below is an editorial workflow for doing that quickly in a store; it is not a claim that every passed item will sell.
The 12-point inspection
1. Name the item before you judge it
Read the brand, model, size and material labels. Look for a style code, a product name, a date or a distinctive construction detail. “Blue jacket” is not enough to research; “Levi’s Type III sherpa trucker, men’s L” gives you something to compare.
If the identity is unclear, do not invent one. Put the item back or price the uncertainty into the decision.
2. Check the areas a buyer will zoom into
For clothing, inspect underarms, collar, cuffs, hems, knees, seat and inside lining. For shoes, inspect toe drag, heel wear, sole separation, insole condition and both size tags. For bags, inspect corners, straps, hardware, lining and closure.
Use daylight where possible. If a flaw cannot be photographed or described clearly, treat it as unresolved risk rather than a minor detail.
3. Look and smell before you handle repairs
Stains, perfume, smoke, mildew and pet odour affect what you can truthfully call the condition. A washable mark may be acceptable if the item is otherwise identifiable and the margin survives; an unknown odour or possible mildew is a reason to pass.
Do not write “easy clean” unless you have actually cleaned it. That is a repair prediction, not a fact.
4. Test every moving part
Zip the zip. Fasten the snaps. Count the buttons. Test the buckle and clasp. Check that a removable hood, belt, strap or insert is present. A working zip and a missing button are factual observations; whether a repair is worth doing is your editorial judgement based on cost, time and resale price.
5. Read composition and care labels
The label can change the listing title, buyer expectation and care burden. Note natural fibres, insulation, leather trim, special washing instructions and missing labels. Never call a fabric cashmere, silk, wool or leather by feel alone when the label says otherwise or is absent.
6. Scan seams, repairs and alterations
Look inside as well as outside. Check for popped seams, uneven repairs, cut-out labels, shortened hems, altered waists and stretched elastic. An alteration is not automatically bad, but it must be described and measured.
7. Take the measurements that decide fit
Label size is not enough for secondhand clothing. At minimum, make a note of the measurements you will list. Use our clothes-resale measurement guide for the exact flat-lay method.
8. Confirm the condition category you can defend
Mercari publishes condition categories; eBay expects condition and description to match the item. Choose the condition you could support with close-up photos and a plain-language note. “Good” is not a substitute for telling a buyer about pilling, fade, repairs or wear.
9. Check authenticity-sensitive details without making a verdict
For a high-value branded item, look for label quality, model or serial details, stitching, hardware and matching construction. This is a research screen, not authentication. Pass, seek a specialist or list only with verifiable details if the identity cannot be supported.
10. Estimate the packed, not hanger, size
Bulky coats, boots and fragile items can be cheap on a rack but expensive to ship. Ask: can this be folded safely, what box or mailer will it need, and what will its packed dimensions and weight be? Get a real carrier quote after packing; do not use a generic postage number.
11. Check the comparable after condition is known
Search completed sales only after you know what you are actually selling. Compare same model, size range, condition and included parts. A clean complete example is not a comparable for one with a broken zip or missing belt.
Use the pricing method to subtract fee, shipping and cost before you reach the register.
12. Leave with proof, not a memory
If store policy allows, photograph the tag, size, condition issue and any model code before buying. Otherwise record concise notes. Your future listing should not depend on remembering which of six black jackets had the repaired cuff.
Buy, repair or pass?
| What you found | Editorial action | What to record |
|---|---|---|
| Identifiable item, clean condition, working hardware | Research comparable sales and buy only if the full-cost margin works | Brand, model, size, material, measurements |
| Small, visible issue with a known repair | Price the repair and disclose it; buy only if the margin survives | Exact flaw, repair plan, cost assumption |
| Missing part, unknown stain or persistent odour | Usually pass unless the item is unusually identifiable and you can list it accurately | Why the issue is unresolved |
| Possible authenticity concern | Pause or seek a specialist; do not turn a hunch into a listing claim | Verifiable label, model and construction details only |
| Too bulky for the likely sale price | Get a packed shipping quote before buying | Packed dimensions and weight estimate |
The ten-second rack screen
Use this quick pass before giving an item a longer inspection:
- Can I name the brand and item type?
- Is there a material or care label?
- Is there immediate staining, pilling, odour or damage?
- Does the hardware appear complete?
- Would I be comfortable photographing the condition honestly?
Four yeses earns a closer look. Any unknown issue earns a pause. This is deliberately conservative: protecting your listing quality is usually worth more than adding one marginal item to a sourcing cart.
What to say in the listing
Use factual, inspectable language: “light pilling at left cuff, shown in final photo,” “zip tested and working,” or “hem has been shortened; see flat measurement.” Avoid “perfect,” “rare,” “easy fix” and “fits like” unless you can support those words.
Clear photos and a condition note make the buyer’s decision easier and keep your listing aligned with marketplace expectations. The exact marketplace policy links and the limits of this checklist are in the sections below.
How we checked this
Marketplace guidance supports accurate condition disclosure, complete listing details and photos. The inspection order, buy-or-pass thresholds and repair judgement are editorial workflow tools; they do not guarantee a sale, prevent all returns or authenticate an item.
- Verified listing requirement
- Condition, photo and description expectations are linked to official marketplace guidance.
- Editorial inspection workflow
- The sequence and buy-or-pass rules are a practical in-store process, not a marketplace rule or measured conversion benchmark.
- Variable repair risk
- Cleaning, repair cost and buyer tolerance depend on the specific item and seller skill; inspect and price them individually.
Sources
- Item description policy
eBay · checked September 10, 2026
Accurate descriptions and disclosure of an item’s condition in an eBay listing.
- Selling clothes
eBay · checked September 10, 2026
Helpful item specifics, measurements and condition details for clothing listings.
- Item conditions
Mercari Help · checked September 10, 2026
Mercari’s published condition categories and their meanings.
- Creating a listing
Mercari Help · checked September 10, 2026
Using clear photos, showing flaws, and entering dimensions and weight in a listing.
- Parcel Size, Weight & Fee Standards
United States Postal Service · checked September 10, 2026
Why packed dimensions, weight and destination determine a shipping quote.
Frequently asked
- What should I inspect before buying clothes at a thrift store to resell?
- Check identity, fabric and care labels, stains and odour, seams and hardware, measurements, missing parts and the packed shipping size. Photograph or note every issue you find. If you cannot explain an item’s condition accurately in a listing, it is usually a pass.
- Should I buy thrifted clothing with stains or small holes?
- Only if you can name the flaw, estimate the repair or cleaning cost, disclose it clearly and still have enough margin. A minor issue on an identifiable, high-demand item may be workable; an unknown stain or odour is a risk, not a bargain.
- How long should an in-store inspection take?
- Use a two-pass process: a ten-second screen for brand, fabric and obvious damage, then a one- to two-minute inspection only after the item has a credible comparable price. The timing is an editorial workflow, not a guarantee of a profitable buy.
- Can photos replace a condition inspection?
- No. Photos document what you saw, but they do not replace checking high-friction areas such as underarms, cuffs, seams, soles, linings and zips. Marketplaces expect descriptions and photos to match the item’s actual condition.